AngularJS参考手册
Angular 模块
惰性加载的特性模块
前提条件
对下列知识有基本的了解:
- 特性模块
- JavaScript 模块与 NgModules。
- 常用模块。
- 特性模块的分类。
- 路由与导航。
如果需要本页描述的具有两个惰性加载模块的范例应用,参见在线例子 / 下载范例。
高层视角
要想建立一个惰性加载的特性模块,有三个主要步骤:
- 创建该特性模块。
- 创建该特性模块的路由模块。
- 配置相关路由。
建立应用
如果你还没有应用,可以遵循下面的步骤使用 CLI 创建一个。如果已经有了,可以直接跳到 配置路由部分。 输入下列命令,其中的 customer-app表示你的应用名称:
content_copyng new customer-app --routing这会创建一个名叫 customer-app 的应用,而 --routing 标识生成了一个名叫 app-routing.module.ts 的文件,它是你建立惰性加载的特性模块时所必须的。 输入命令 cd customer-app 进入该项目。
创建一个带路由的特性模块
接下来,你需要一个要路由到的特性模块。要生成一个,请输入下列命令,其中的 customers 是该模块的名字:
content_copyng generate module customers --routing这会创建一个 customers 目录,其中有两个文件:CustomersModule 和 CustomersRoutingModule。 CustomersModule 扮演的是与客户紧密相关的所有事物的管理员。CustomersRoutingModule 则会处理任何与客户有关的路由。 这样就可以在应用不断成长时保持应用的良好结构,并且当复用本模块时,你可以轻松的让其路由保持完好。
CLI 会把 CustomersRoutingModule 自动导入到 CustomersModule。它会在文件的顶部添加一条 JavaScript 的 import 语句,并把 CustomersRoutingModule 添加到 @NgModule 的 imports 数组中。
向特性模块中添加组件
要想在浏览器中看出该模块惰性加载成功了,就创建一个组件用来在应用加载 CustomersModule 之后渲染出一些 HTML。在命令行中输入如下命令:
content_copyng generate component customers/customer-list这会在 customers 目录中创建一个名叫 customer-list 的文件夹,其中包含该组件的四个文件。
就像路由模块一样,CLI 也自动把 CustomerListComponent 导入了 CustomersModule。
再添加一个特性模块
为了提供另一个可路由到的地点,再创建第二个带路由的特性模块:
content_copyng generate module orders --routing这会创建一个名叫 orders 的新文件夹,其中包含 OrdersModule 和 OrdersRoutingModule。
现在,像 CustomersModule 一样,给它添加一些内容:
content_copyng generate component orders/order-list建立 UI
虽然你也可以在地址栏中输入 URL,不过导航菜单会更好用,而且更常见。 把 app.component.html 中的占位脚本替换成一个自定义的导航,以便你在浏览器中能轻松地在模块之间导航。
src/app/app.component.html
content_copy<h1>
  {{title}}
</h1>

<button routerLink="/customers">Customers</button>
<button routerLink="/orders">Orders</button>
<button routerLink="">Home</button>

<router-outlet></router-outlet>
要想在浏览器中看到你的应用,就在终端窗口中输入下列命令:
content_copyng serve然后,跳转到 localhost:4200,这时你应该看到 “app works!” 和三个按钮。
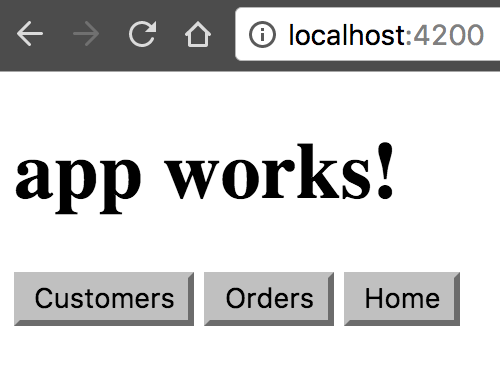
要想让这些按钮生效,你需要配置一下这些路由模块。
配置路由
这两个特性模块(OrdersModule 和 CustomersModule)应该挂接到 AppRoutingModule 中,来让路由器知道它们。其结构如下:
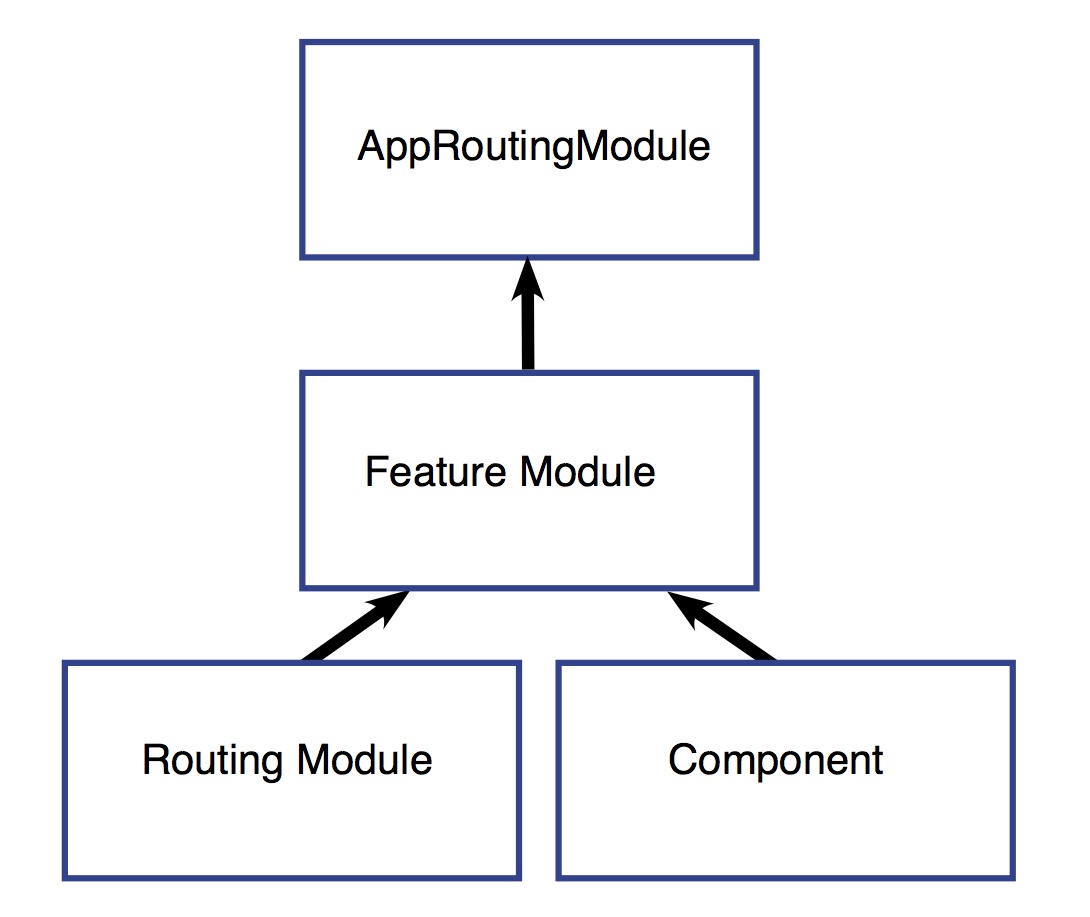
每个特性模块都是路由器中的一个“门口”。在 AppRoutingModule 中,你配置了一些路由指向这些特性模块(即 OrderModule 和 CustomersModule)。 通过这种方式,路由器就知道了如何跳转到特性模块。然后,特性模块就把 AppRoutingModule 和 CustomersRoutingModule或 OrdersRoutingModule 连接到一起。这些路由模块会告诉路由器该到哪里去加载相应的组件。
顶层的路由
在 AppRoutingModule 中,把 routes 数组修改成这样:
src/app/app-routing.module.ts
content_copyconst routes: Routes = [
  {
    path: 'customers',
    loadChildren: 'app/customers/customers.module#CustomersModule'
  },
  {
    path: 'orders',
    loadChildren: 'app/orders/orders.module#OrdersModule'
  },
  {
    path: '',
    redirectTo: '',
    pathMatch: 'full'
  }
];
这些 import 语句没有变化。前两个路径分别路由到了 CustomersModule和 OrdersModule。注意看惰性加载的语法:loadChildren 后面紧跟着一个字符串,它指向模块路径,然后是一个 #,然后是该模块的类名。
特性模块内部
接下来看看 customers.module.ts。如果你使用的是 CLI,并遵循本页面中给出的步骤,那么在这里你不必做任何事。 特性模块就像是 AppRoutingModule 和该特性自己的路由模块之间的连接器。AppRoutingModule 导入了特性模块 CustomersModule,而 CustomersModule 又导入了 CustomersRoutingModule。
src/app/customers/customers.module.ts
content_copyimport { NgModule } from '@angular/core';
import { CommonModule } from '@angular/common';
import { CustomersRoutingModule } from './customers-routing.module';
import { CustomerListComponent } from './customer-list/customer-list.component';

@NgModule({
  imports: [
    CommonModule,
    CustomersRoutingModule
  ],
  declarations: [CustomerListComponent]
})
export class CustomersModule { }
customers.module.ts 文件导入了 CustomersRoutingModule 和 CustomerListComponent,所以 CustomersModule 类可以访问它们。 接着 CustomersRoutingModule 出现在了 @NgModule 的 imports 数组中,这让 CustomersModule 可以访问它的路由模块。而 CustomerListComponent 出现在了 declarations 数组中,这表示 CustomerListComponent 属于 CustomersModule。
配置该特性模块的路由
接下来的步骤位于 customers-routing.module.ts 中。首先,在文件的顶部使用 JS 的 import 语句导入该组件。然后添加指向 CustomerListComponent 的路由。
src/app/customers/customers-routing.module.ts
content_copyimport { NgModule } from '@angular/core';
import { Routes, RouterModule } from '@angular/router';

import { CustomerListComponent } from './customer-list/customer-list.component';


const routes: Routes = [
  {
    path: '',
    component: CustomerListComponent
  }
];

@NgModule({
  imports: [RouterModule.forChild(routes)],
  exports: [RouterModule]
})
export class CustomersRoutingModule { }注意,path 被设置成了空字符串。这是因为 AppRoutingModule 中的路径已经设置为了 customers,所以 CustomersRoutingModule 中的这个路由定义已经位于 customers 这个上下文中了。也就是说这个路由模块中的每个路由其实都是子路由。
重复这个步骤以导入 OrdersListComponent,并为 orders-routing.module.ts 配置路由树组:
src/app/orders/orders-routing.module.ts (excerpt)
content_copyimport { OrderListComponent } from './order-list/order-list.component';

const routes: Routes = [
  {
    path: '',
    component: OrderListComponent
  }
];
现在,如果你在浏览器中查看该应用,这三个按钮会把你带到每个模块去。
确认它工作正常
你可以使用 Chrome 开发者工具来确认一下这些模块真的是惰性加载的。 在 Chrome 中,按 Cmd+Option+i(Mac)或 Ctrl+Alt+i(PC),并选中 Network 页标签。
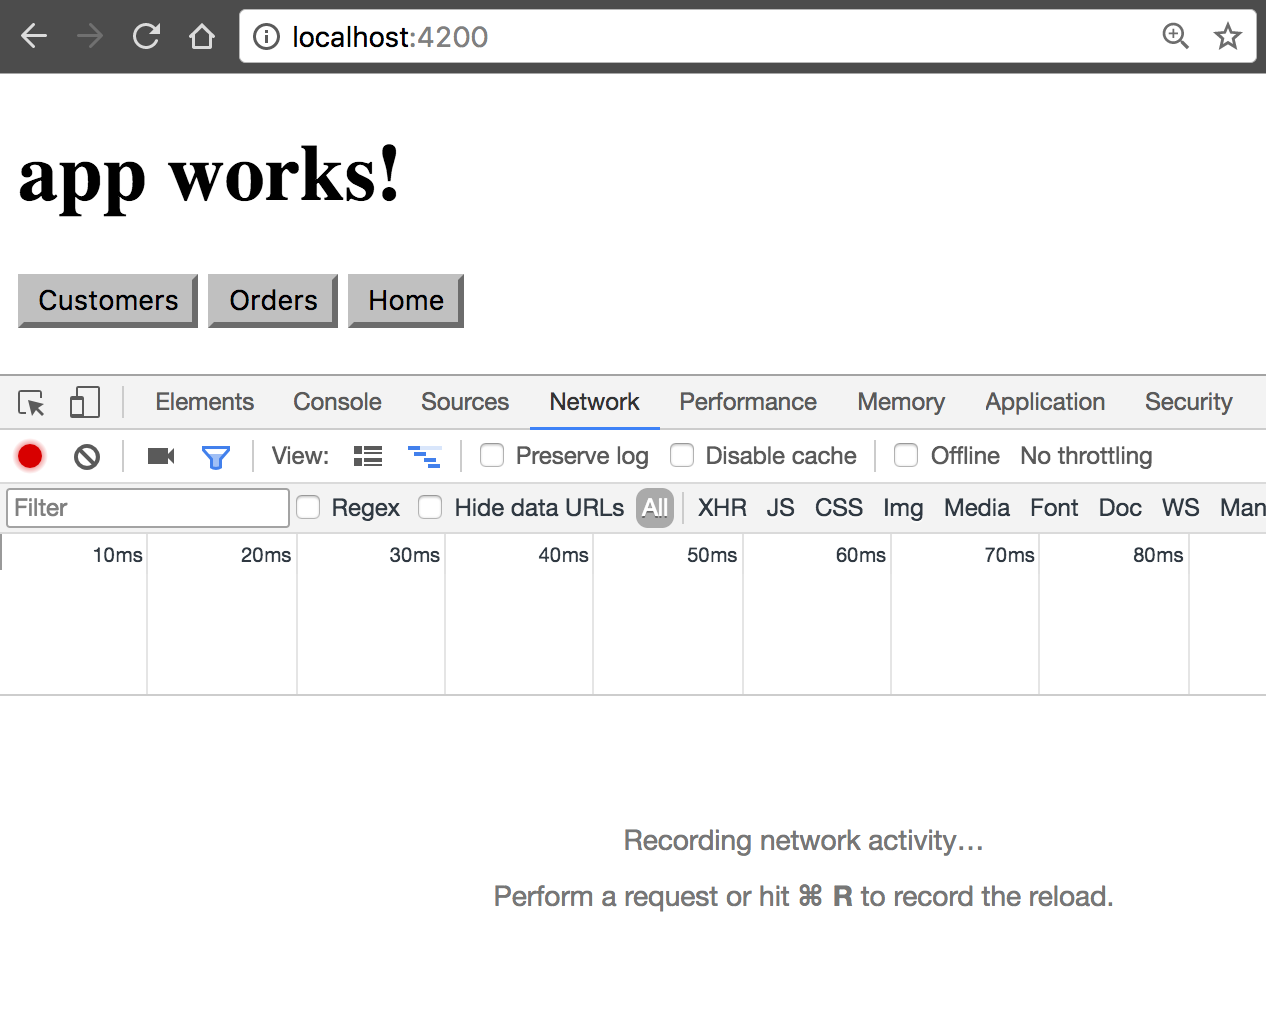
点击 Orders 或 Customers 按钮。如果你看到某个 chunk 文件出现了,就表示你已经惰性加载并接入了这个特性模块。Orders 和 Customers 都应该出现一次 chunk,并且它们各自只应该出现一次。
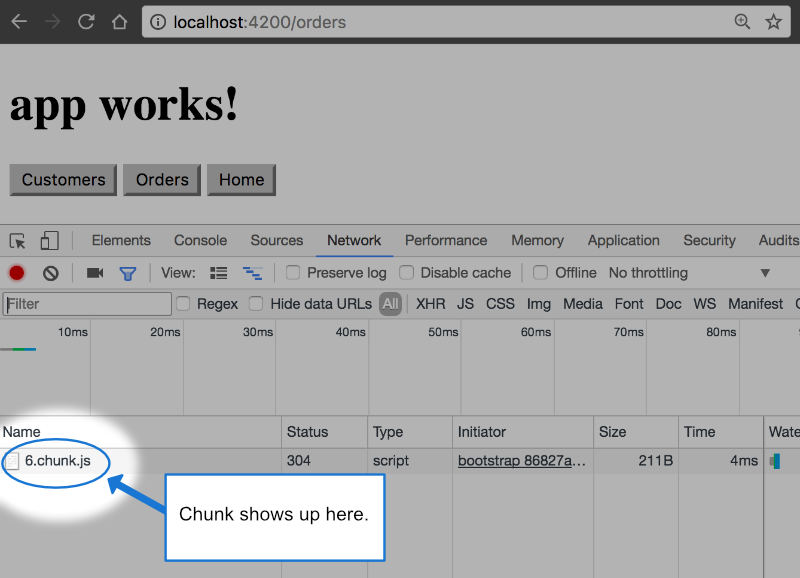
要想再次查看它或测试本项目后面的行为,只要点击 Network 页左上放的“清除”图标即可。
然后,使用 Cmd+r(Mac) 或 Ctrl+r(PC) 重新加载页面。
forRoot() 与 forChild()
你可能已经注意到了,CLI 会把 RouterModule.forRoot(routes) 添加到 app-routing.module.ts 的 imports 数组中。 这会让 Angular 知道 AppRoutingModule 是一个路由模块,而 forRoot() 表示这是一个根路由模块。 它会配置你传入的所有路由、让你能访问路由器指令并注册 RouterService。 在 AppRoutingModule 中使用 forRoot(),在本应用中这只会在顶层模块中写一次。
CLI 还会把 RouterModule.forChild(routes) 添加到各个特性模块中。这种方式下 Angular 就会知道这个路由列表只负责提供额外的路由并且其设计意图是作为特性模块使用。你可以在多个模块中使用 forChild()。
forRoot() 包含的注入器配置是全局性的,比如对路由器的配置。forChild() 中没有注入器配置,只有像 RouterOutlet 和 RouterLink 这样的指令。
更多关于 NgModule 和路由的知识
你可能还对下列内容感兴趣:
- 路由与导航。
- 服务提供商。
- 特性模块的分类。

 加载中,请稍侯......